Since purchasing my 40W CO2 Laser, I’ve been looking for ways to accomplish more crafts and manufacturing processes using it. A use case that was immediately of interest was creating reusable silk screens via a laser cutter process. The consumables of traditional UV etching and pattern processing wasn’t appealing to me (along with requiring more machines) so I took a stab at using a process recommended by a good friend of mine that used to run a Makerspace at his university.
I was hesitant to deconstruct my laser for a single project, but I knew I would be replacing my build plate with a honeycomb platform to minimize reflections and burning on the underside of my materials. I ended up removing everything but the gantry, leaving the raw shell and a much larger build area. An additional upgrade along with this is adding a cable chain to protect the air assist hose from drooping down and getting in the middle of the laser beam.
I’m working towards building a set of processes that make this accessible to the public in a makerspace capacity. As long as they have an SVG or can use Inkscape to trace their existing picture into an SVG they should be able to complete this process. The next upgrade will be a replacement frame, I’m shooting for a stepped/stadium type mount that allows preset holds to allow you to pull a frame and examine it and then run another pass with perfect alignment.
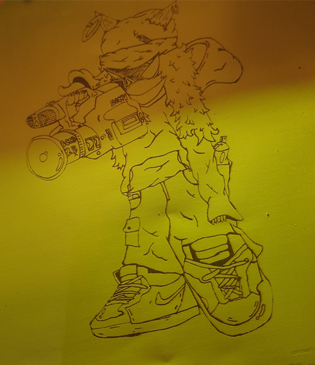
The first test I started with was the Dirty South Media (@dirtysouth.media) logo, I’m trying to provide low cost/low run capabilities to the local scene and the crew at DSM do amazing work keeping the physical media art alive. I wanted to give them the first run of shirts if this worked and used their logo to tweak and learn. Below are the various stages (and fails) of the process.
The biggest take away is
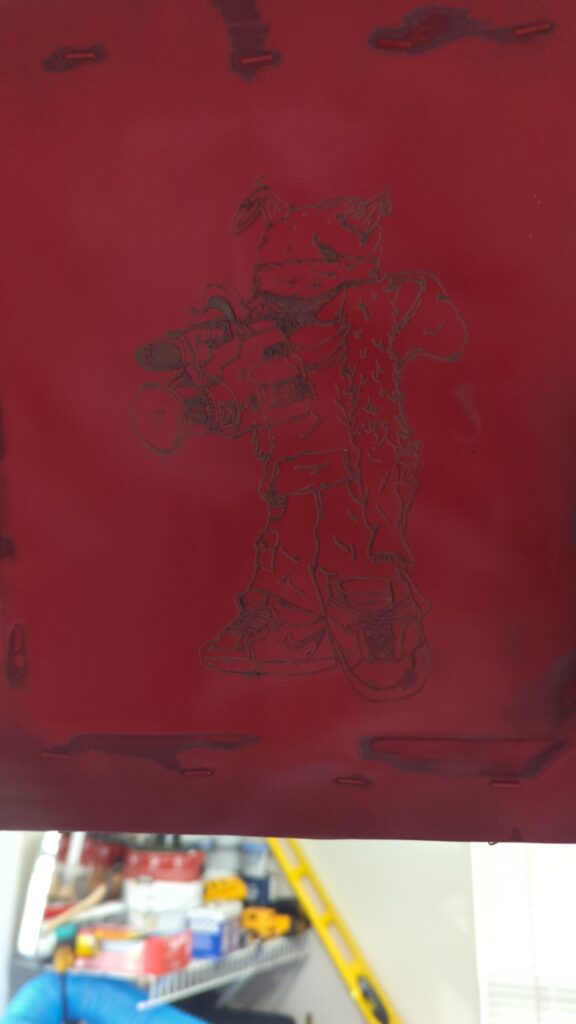
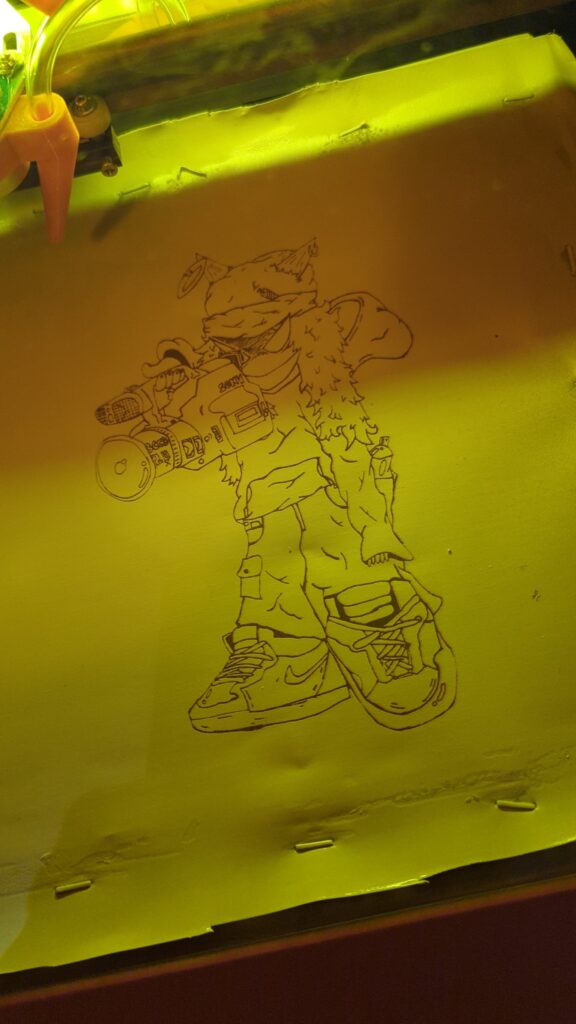
A light dusting from the spray paint, don’t pool the paint and use as little as possible to block the membrane. Use water soluble paint and WIPE THE MESH CLEAN AFTER USE
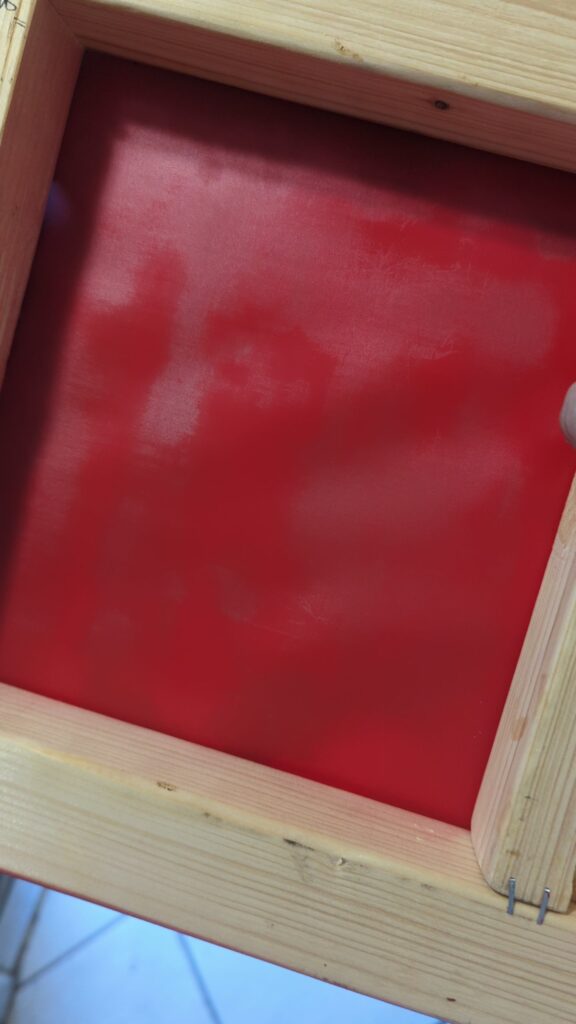
After this run is complete, another dusting of spray paint will reset the mesh and provide a fresh slate for another pattern to be etched in. I’m curious how long the steel mesh will hold up to printing and etching, I’ll continue to post updates as this experiment progresses.