I’ve been working with my K40 CO2 laser the last few weeks, noticing every cut was extra scorched and wondering how I could improve that. I had concerns for the longevity of my crystal given it occasionally met the actual flame coming off the materials (and the flame was going directly into the exhaust manifold which couldn’t have been great)
Enter: Air assist
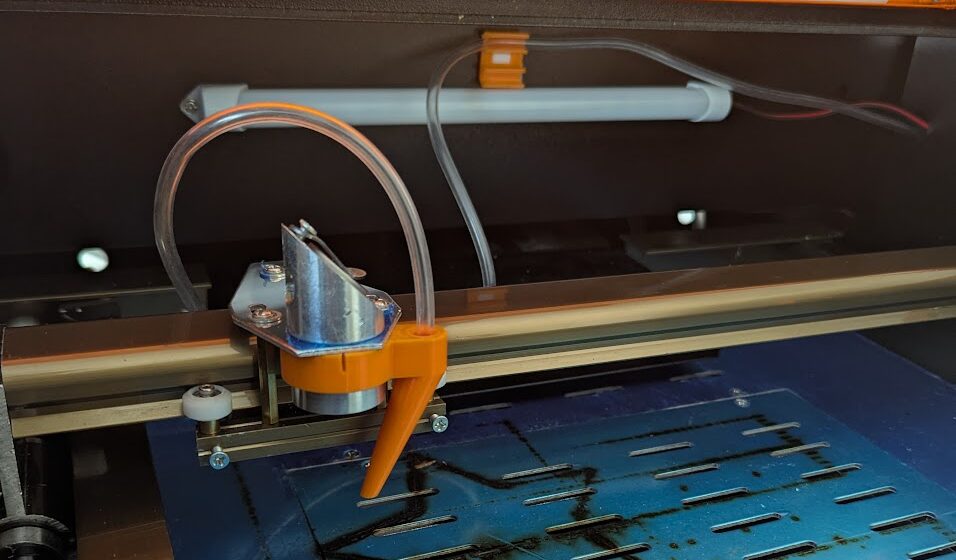
By directing a medium to high force of air directly at the focus point of the laser, you can keep embers and flames to a minimum and maintain a crisp clean line. I’m currently using my airbrush compressor. I figured the chances I’ll be leaving my laser cutter unattended and running to go paint some miniatures is very small.

If it’s worth doing, it’s worth overdoing
A pretty consistent theme of my projects is they never start because I’m in the planning phase frozen for the best decision. I still strive for an overengineered solution but now I’m approaching it in a phased and segmented way. This phase of the laser cutter includes getting a cut through 5mm thick wood without starting a large fire or giving my art a smokey shadow. I’ve seen some pretty elaborate setups including braided wire and riveted regulators bolted onto the cutters. While those are pretty visually appealing, I found out some tubing from my aquarium bubbler also worked, an hour of 3D printing later and my laser is now capable of reaching my first goal.
The second phase is going to be shielding the tubing from snags and smoke in a cable chain, it’ll limit the movement in a single axis so I can ensure it won’t get in the way of the gantry while being flexible enough to not exert undo pressure on the stepper motors.
The final phase of the air assist will be collecting metrics for the sake of collecting metrics. I want to monitor both the air flow and temperature of the exhaust air. It would be interesting to chart various materials and their correlation during the cutting and engraving process.
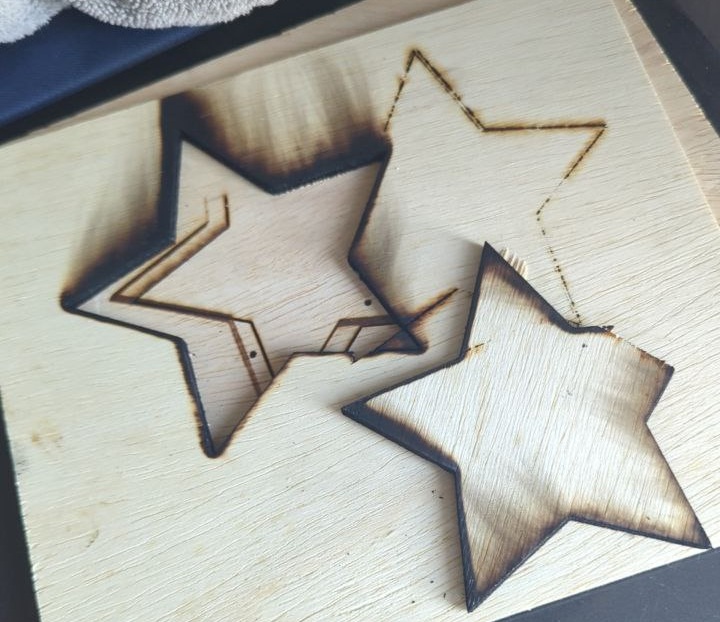
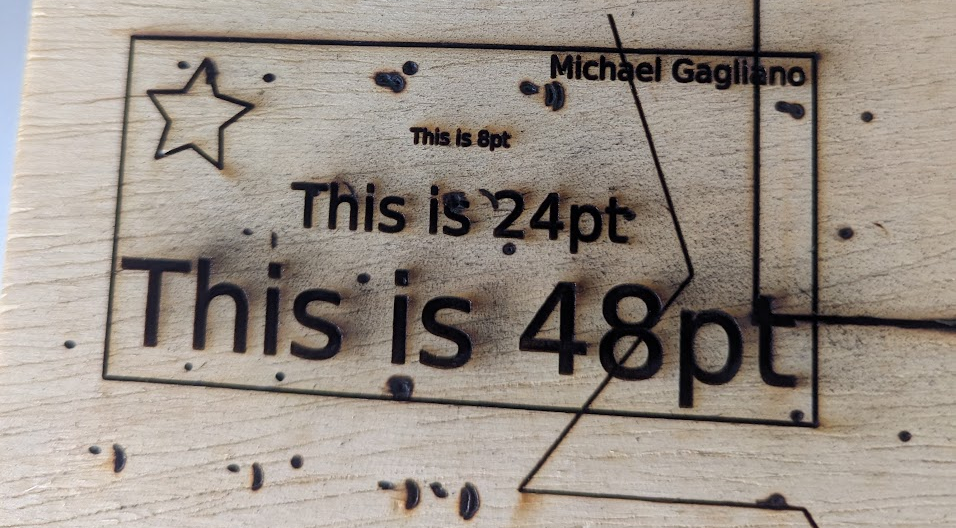
Before / After